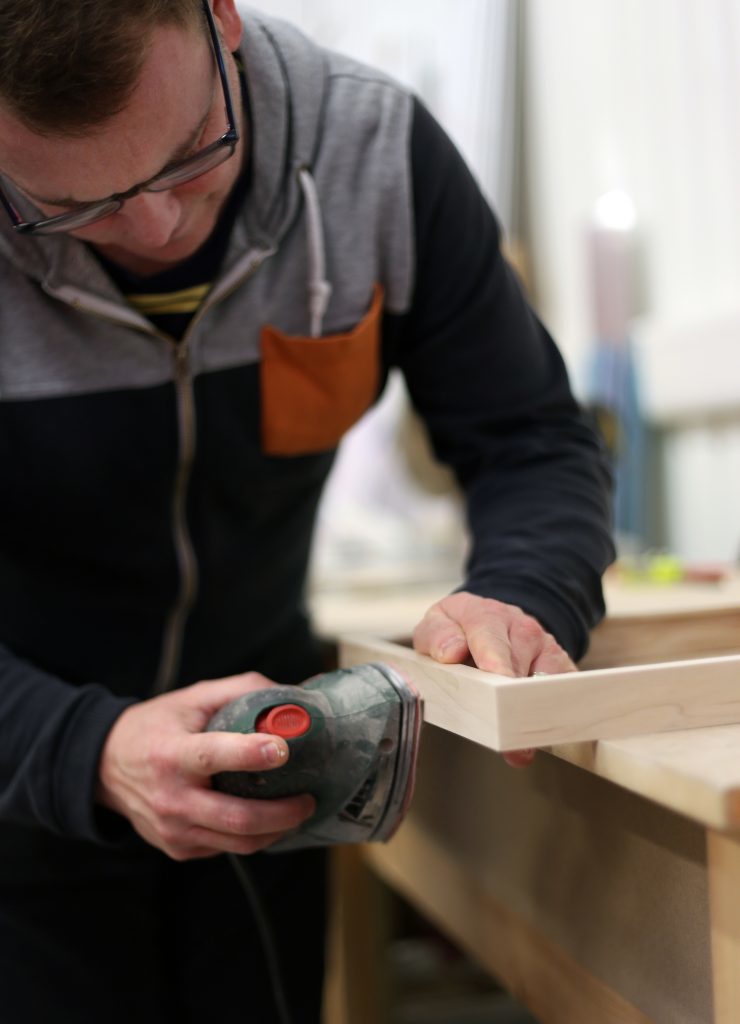
Top 4 Framing Tips
- Before framing your work always plan ahead. We’ve put together this handy checklist to help you decide on the perfect finish.
- What is achievable within my budget?
- How much time have I got?
- What kind of frame do I need for the size of my print? (Eg. frames over 1m will always require a sub-frame.)
- What is the use/purpose of my print? Domestic or exhibition? Is it going to be outdoors? Is it going to travel? Am I planning to sell it?
- How am I planning to hang it? – Consider options for frame fixing and weight of the frame.
- Choose the frame style that works best for your image. You can consider one of the 5 basic frame styles:
However unique your project, anything is possible with our bespoke framers! The key thing to remember is too showcase your work, and not to let the frame dominate it but to compliment it.

- The type of glass you pick is just as important as the frame. Investing a little bit more on the glass is definitely worth it. Choose anti-reflective for perfect clarity and the best display for your print (this works well for particularly dark images and deep blacks). Depending on your budget, size or destination, consider acrylic anti-reflect, or UV protection.

- Why go for a quality frame instead of pre-fabricated one?
Ready-made frames are manufactured with cheap materials, which will not only detract from your work with the lesser quality look but also lack longevity; they may not even be any cheaper than some bespoke frame options. If you are on a tight budget or short deadline, you might consider mounting instead, where you can choose from a wide range of materials varying in weight, rigidity, and durability. Alternatively, choose standard size frames for hire.

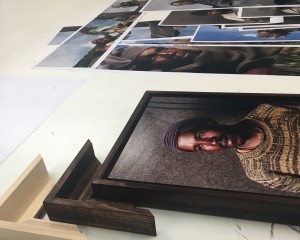
Images featuring: The Herder Boys of Lesotho – Tom Oldham